
With all my flowers and leaves done, it was time to put it all together into a pattern. I wanted to combine the styles of two Hawaiian shirts that I had. The first has a wide stripe of white and grey flowers around the body, the other has a medium sized picture on the back.
Tiling Tool – Inkscape
Before I could make any pattern, I had to determine which tool to use to make wrap around tiles. These are pattern tiles where the pattern wraps from one side to the other. This allows you to make patterns where you cannot tell where the edge is. When I started working with different tiling tools, I had no idea that Inkscape could do wrap around tiling. But in my searches, I found this you-tube video that showed me how to do it. If you are interested in doing this, make sure you have the latest Inkscape. Older versions might have almost the same menu options, but they don’t really work.
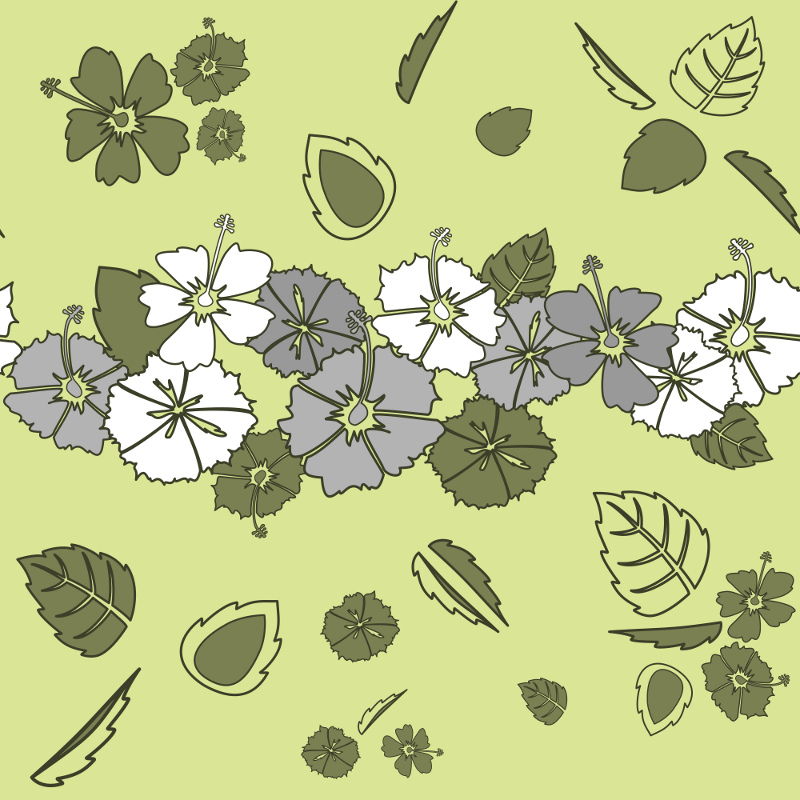
Core Pattern
I won’t bore you with all the details. But following the instructions from the video I made my core pattern. This is the pattern that the rest of the shirt developed from.
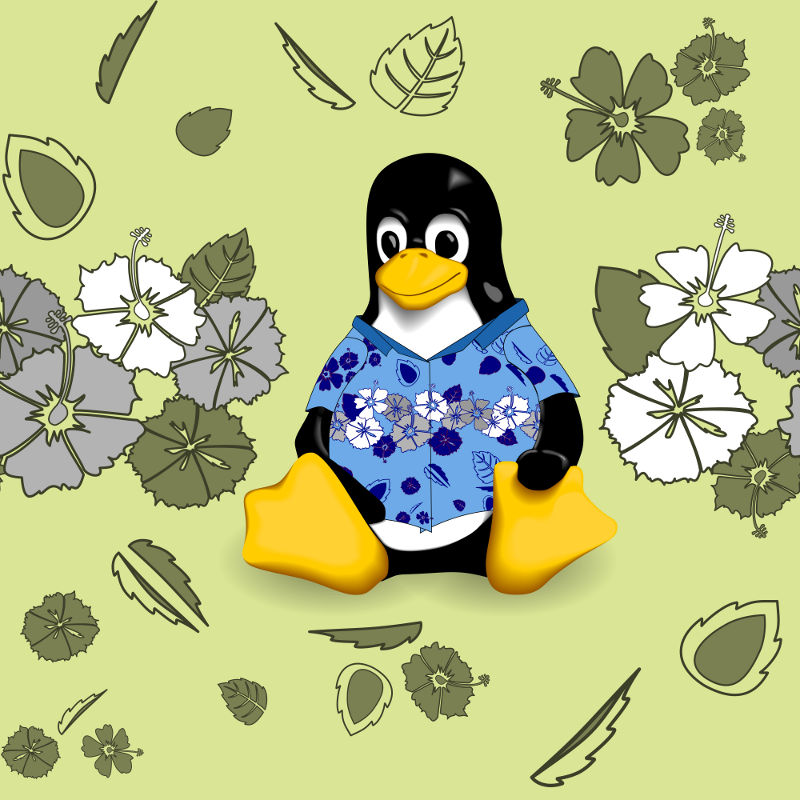
Core Pattern on Casual Tux
Casual Tux was going to be the picture on the back of my shirt. But I wanted him wearing my ultimate shirt. As you can see, I replaced his original flowers with my core pattern. Using the Inkscape clip function made this very easy. I took my core pattern, layed a piece of Tux’s shirt over it, selected the pattern first, then the shirt piece (so they both are selected). Then in the menu select Object -> Clip -> Set, and you are left with your core pattern, in the shape of the shirt piece.

Core Pattern on Casual Tux on Core Pattern
Yep, I went there. This final step, for the back of the shirt, ended up being the easiest step of all. I simply put Casual Tux where I wanted him, and removed the flowers from behind him. Easy as could be.
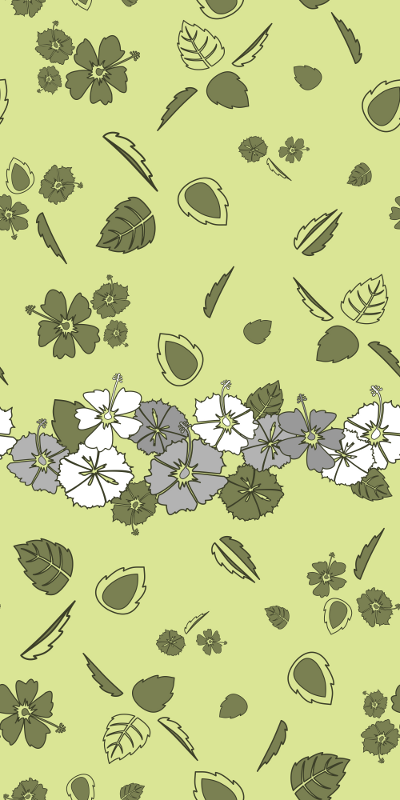
Patterns for Fabric
Those of you who have created shirts before have possibly seen the fatal flaw in my pattern. My pattern is square and setup to be tiled. If I want just one stripe across this shirt, with just one Tux on the back, I have to either make my white stripe huge, or add more to my pattern. And so I added more to my pattern. I used the same technique as before to make the wrap around tiles, but this time, I made the height double the width. I was really pleased with the final result.

Summary
Inkscape is the greatest tool I can think of. With the ability to make wrap around tiles, as well as clip vector graphics, I was able to create the patterns that I needed. I’m all set to create the fabric for my shirt. More on the fabric in my next post.
Part 1
Part 2 – Flowers
Part 3 – Leafs
Part 4 – Patterns
Part 5 – Fabric