Fabric is where the digital meets the real world. It’s also something I’m still learning about. My brother told me that he got his customized fabric from SpoonFlower. I later found that Zazzle also sold customized fabric.
I learned from my brother that you have to get samples of your patterns on the fabric. What you see on a computer screen isn’t exactly what you get on fabric.
Which Fabric – SpoonFlower
SpoonFlower has a very large variety of fabric. They understand that their variety can be intimidating, as well as costly to try out. So you can order a sample of unprinted swatches of all their materials for just $1.00, with free shipping. These are just small 1 inch by 2 inch swatches, but I highly recommend getting them.
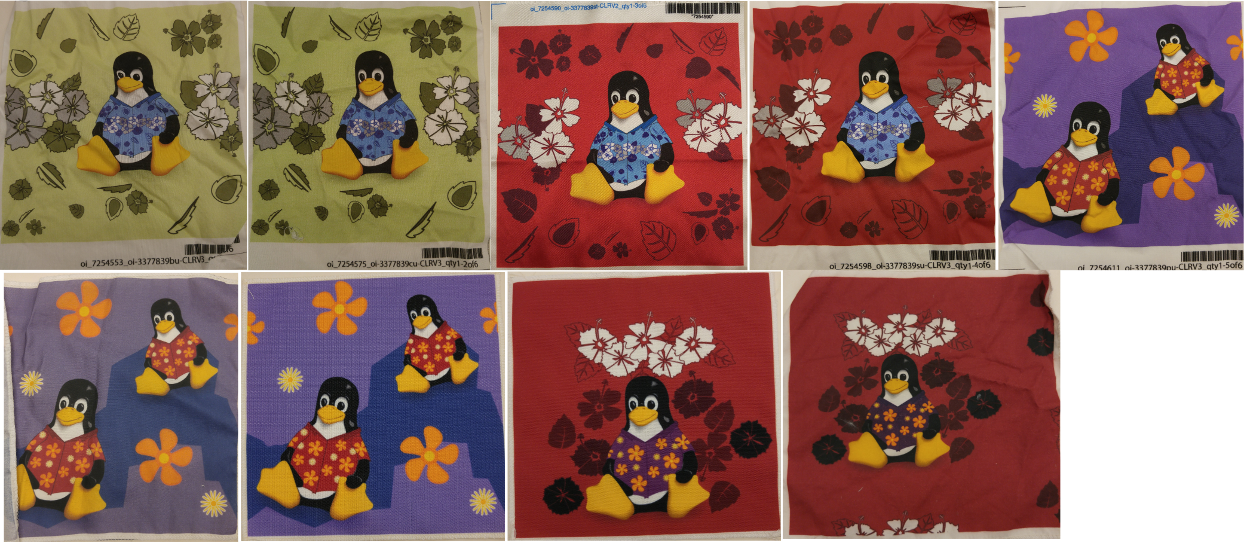
I then ordered and evaluated 8×8 inch swatches of the following fabrics. Printed 8×8 inch swatches are $5 each.
- Basic Cotton Ultra (Nice for Shirts)
- Kona® Cotton Ultra (Nice for Shirts)
- Satin (Too light for Shirts)
- Organic Cotton Sateen Ultra (Very nice for Shirts, expensive)
- Cotton Poplin Ultra (Not right for Shirts)
Which Fabric – Zazzle
Zazzle only has seven types of fabric, and I’m not positive that two of them are any different. They also don’t have any way of evaluating fabric other than ordering swatches of them. Their 9×9 inch swatches are $5 each, so it’s not too expensive to test all of their fabrics.
I ordered and evaluated 9×9 inch printed swatches of the following fabrics.
- Custom Pima Cotton (Nice for Shirts)
- Custom Combed Cotton (Nice for Shirts)
- Custom Polyester Weave (Not right for Shirts, too stiff, too course)
- Custom Polyester Poplin (Not right for Shirts, too stiff)
My swatches of Custom Pima Cotton and Custom Combed Cotton were the same fabric. They aren’t just similar, they were the same. They both were labeled “Custom Combed Cotton Pima”, and both felt the same.
Testing
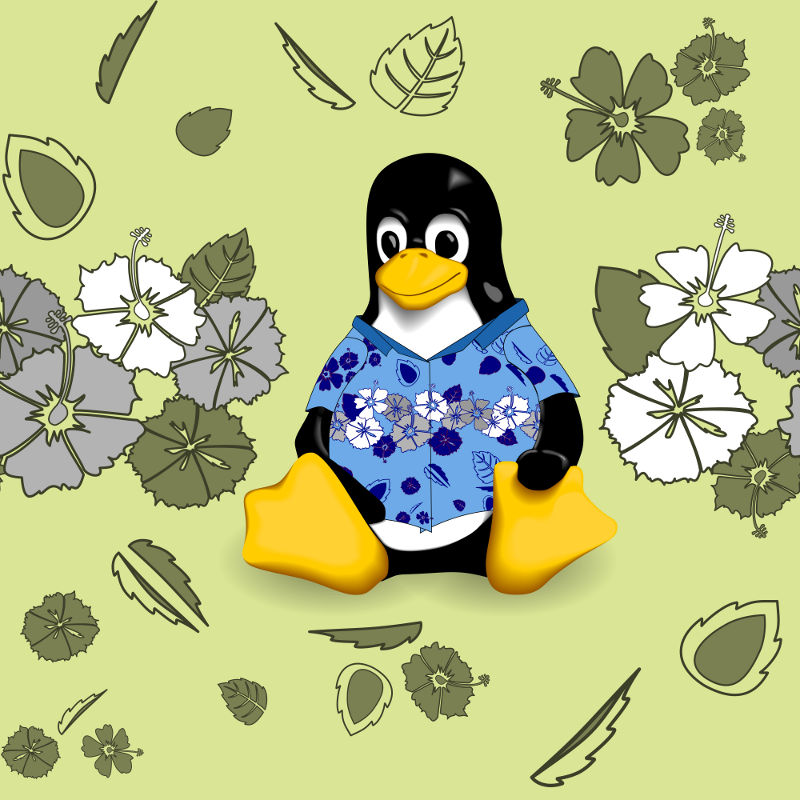
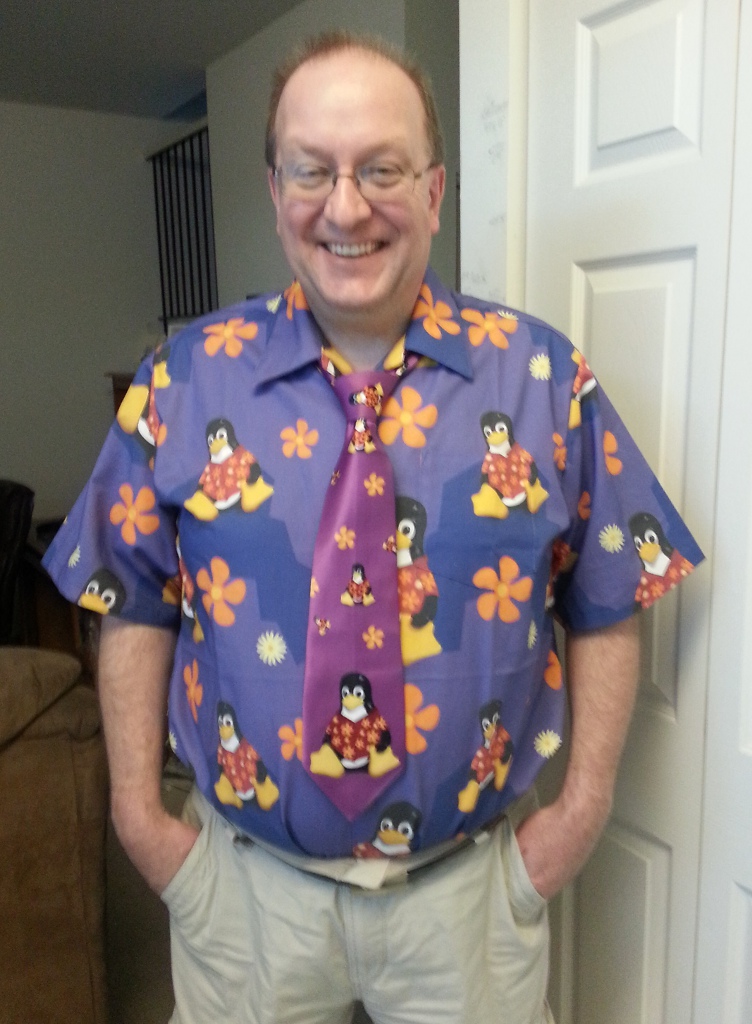
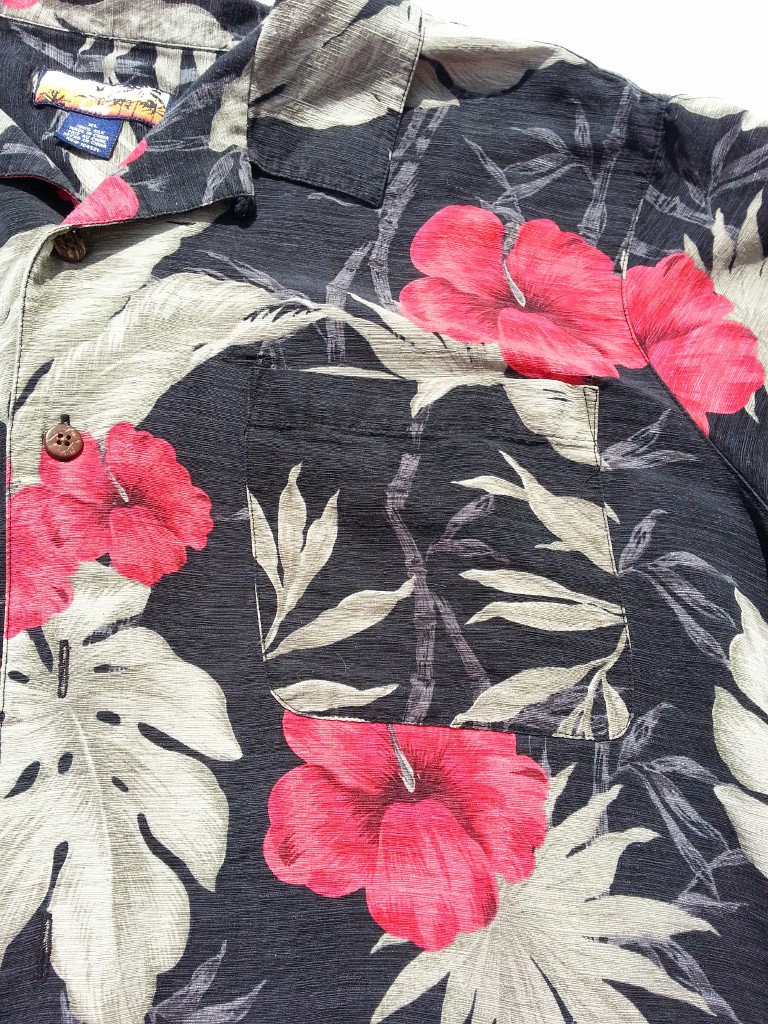
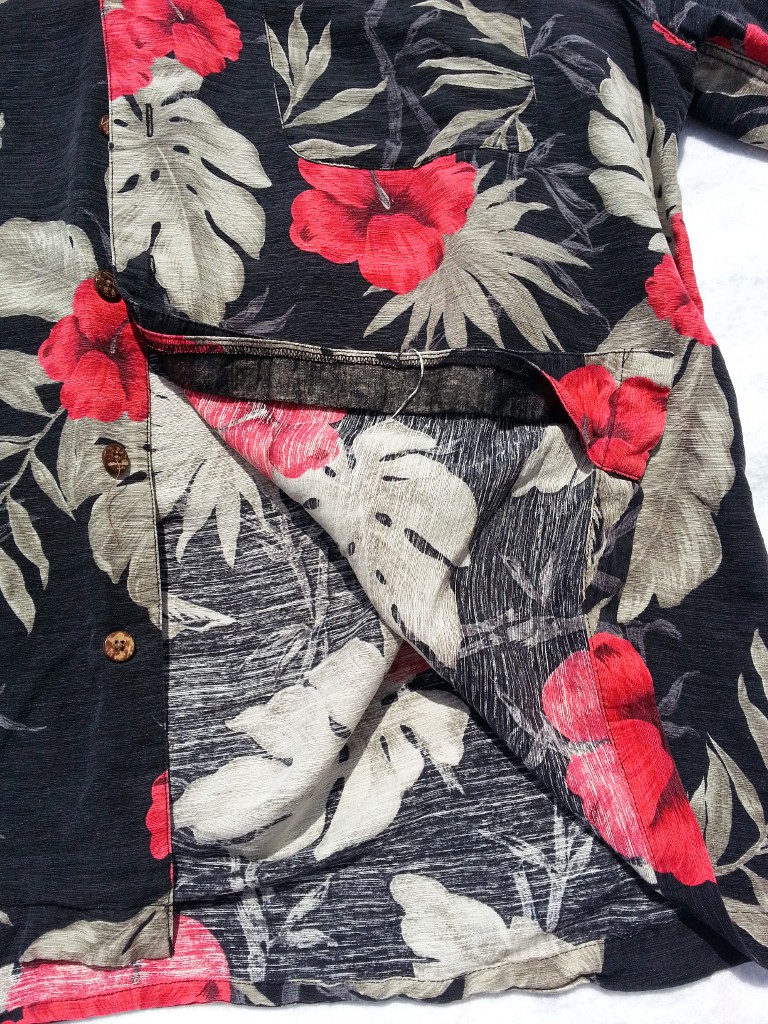
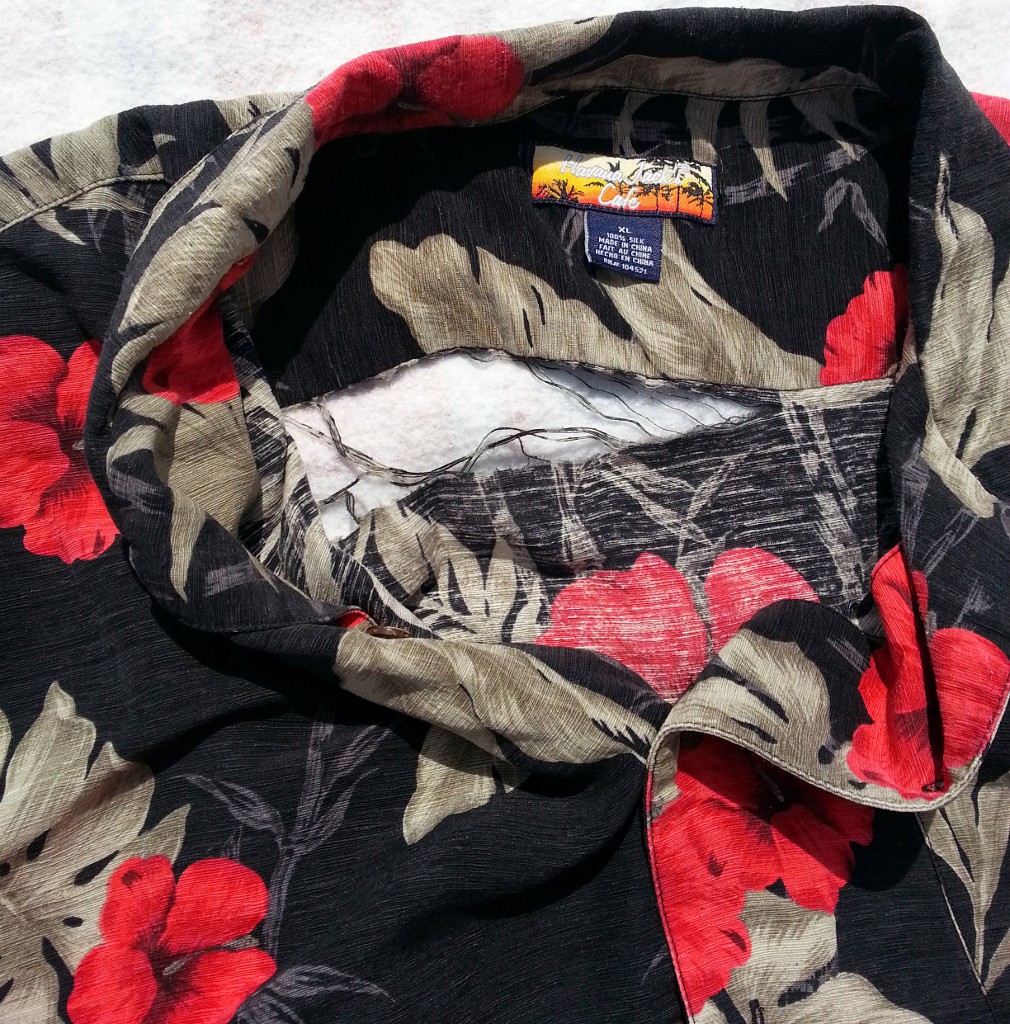
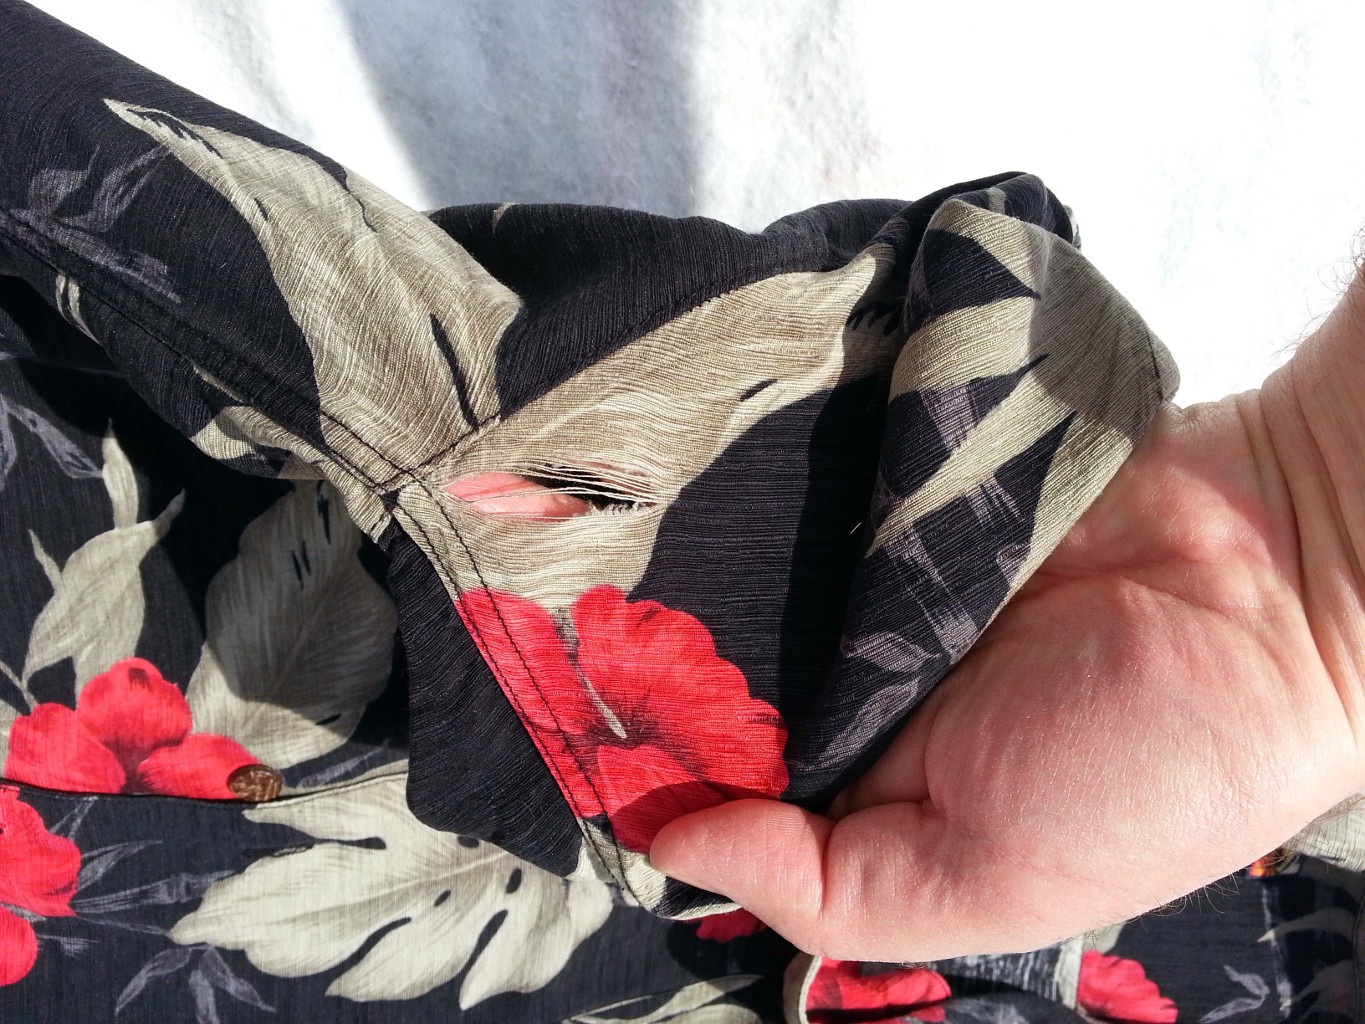
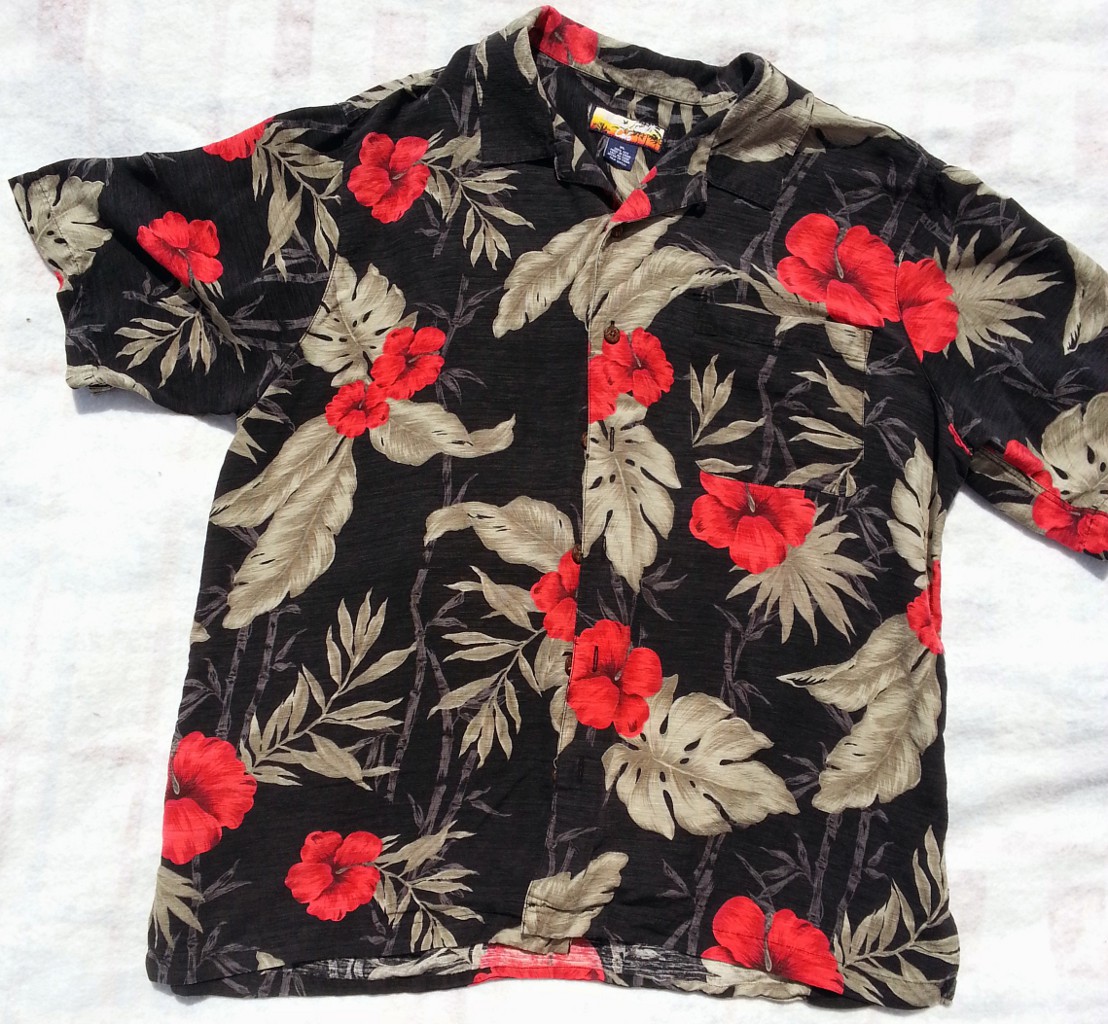
My initial custom Casual Tux shirt had an issue with fading, so I wanted to test all of these fabrics. I took pictures of all the fabrics, washed them, dried them, then took pictures again.
Washing in cold water, Hang to dry. No significant change. I did this over and over. I won’t bore you with photos. Evidently this is the proper way to wash and dry these fabrics.
Washing in cold water, Dry in dryer on medium heat. Fading and changes. Just once brought the first changes in the fabrics. Actually, the changes were in the non-polyester fabrics.
Summary
Both SpoonFlower and Zazzle have decent customizable fabric. SpoonFlower has a bigger selection. All their fabrics hold up well with cold water washing. But do not dry the non-polyester fabrics in a dryer. You should either no-heat tumble, or hang dry the fabrics, or fading will occur. Next post will be on my first attempt at putting it all together and creating a shirt.
Part 1
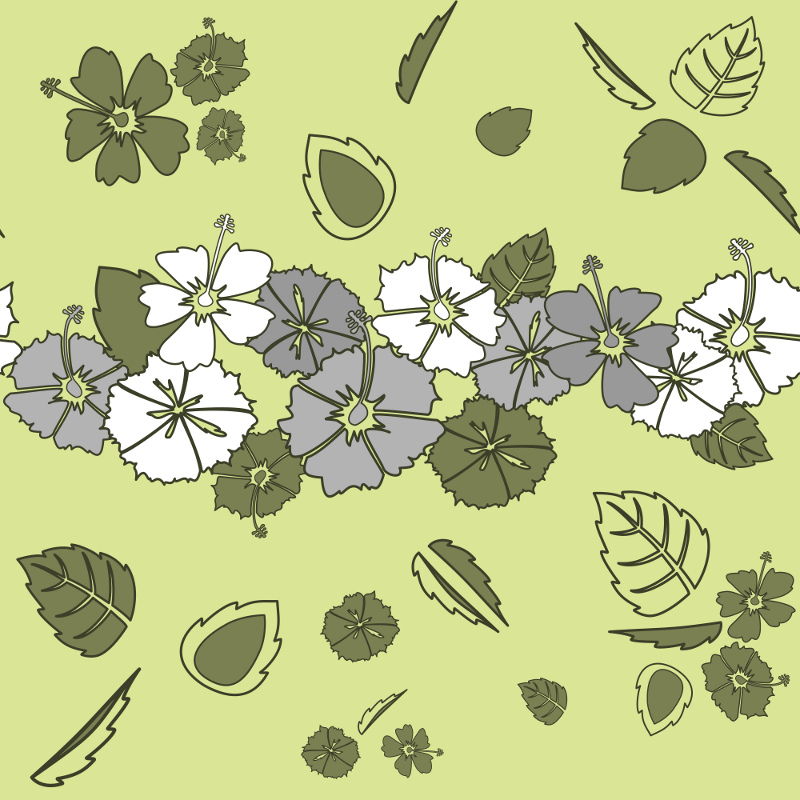
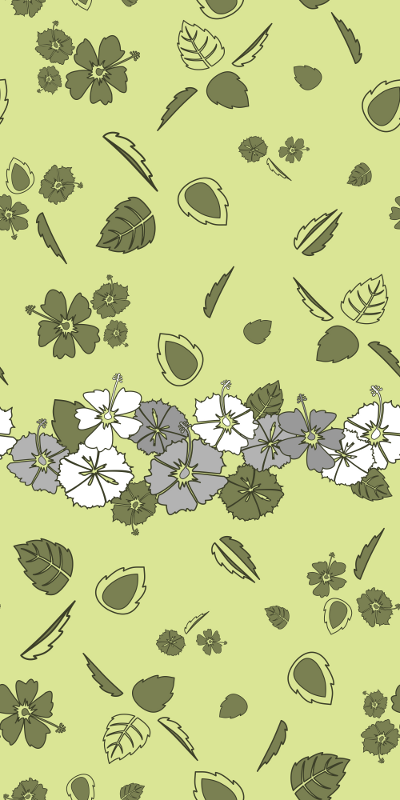
Part 2 – Flowers
Part 3 – Leafs
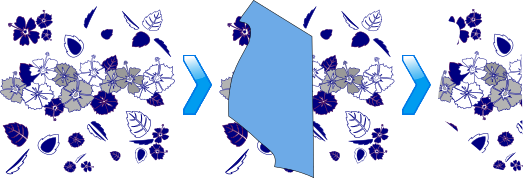
Part 4 – Patterns
Part 5 – Fabric